How to Prepare for a Color Correction Appointment
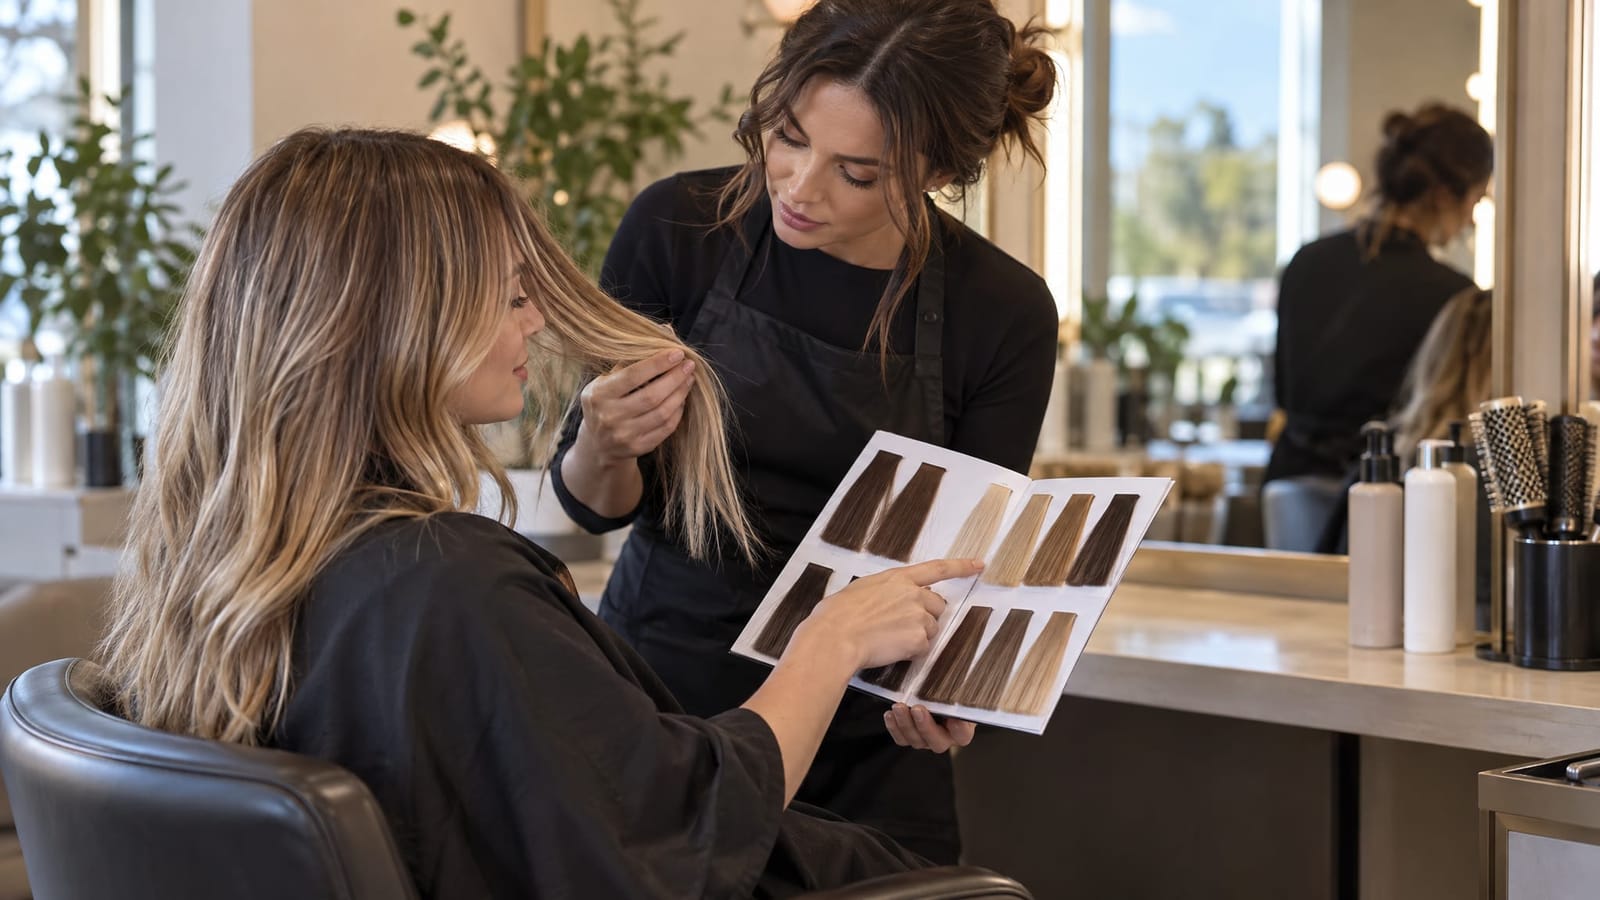
The most useful hair consultation preparation is straightforward: gather clear photos, write down your color history, and decide what you most want to change. Avoid adding another at-home color treatment before the appointment, and prepare questions about the process, upkeep, and cost.
At IlonaR Style in Marina del Rey, we offer color correction in a private, one-on-one setting. Preparation helps turn “I don’t like my color” into a focused conversation about what is bothering you and which direction fits your hair and routine.
Step 1: Name the Color Problem and Your Main Priority
You do not need salon vocabulary to explain what feels wrong. Describe what you see, where you see it, and what you would prefer:
- “My roots look brighter than the rest of my hair.”
- “The ends feel too dark, but I like the color around my face.”
- “I wanted beige blonde, but this looks orange to me.”
- “There is a visible stripe between my roots and the older color.”
Then choose your main priority. Is it a more even result, less warmth, a lighter overall look, or keeping as much length as possible? These goals can involve different approaches.
For example, softening an uneven brunette does not necessarily require making all of the hair lighter. If evenness matters more than brightness, say that early.
Step 2: Bring Photos That Explain Your Preferences
A small, focused collection is more useful than a large folder of unrelated looks. Include:
- Your current hair: Clear views of the front, back, roots, and ends in natural light, without filters.
- Your desired direction: Images showing the depth, warmth, and placement of lighter pieces you like.
- A previous color you enjoyed: A photo of your own hair can help explain what feels like you.
For each inspiration image, identify the specific detail you want. “I like the soft root, but not the very pale ends” is more useful than “I want this.” An image of a color you dislike can also clarify your preferences.
Choose some references with a texture similar to yours. Waves, curls, and straight styling display color differently. Photos are a visual starting point, not a promise of an identical result.
Step 3: Write a Color History for the Hair You Still Have
Include more than your latest appointment. Older color can remain in the lengths even when the roots have grown out.
A simple note on your phone can cover:
- Timing: Approximate dates of coloring and lightening appointments.
- Products: Salon color, box dye, bleach, toner, gloss, color remover, henna, and color-depositing masks or shampoos.
- Placement: Whether each product went on the roots, selected sections, or the entire head.
- Other chemical services: Smoothing treatments, relaxers, or perms.
- Recent changes: Areas that feel rougher, tangle more, or have shorter broken pieces.
Include at-home attempts without embarrassment. A dark dye followed by a remover and another dye is useful information, even if each step happened within the same week. Product names or packaging photos can help keep the details accurate.
For textured hair, also describe your usual curl pattern and styling routine. Our article on curly hair coloring explains considerations specific to correcting color while keeping texture central to the plan.
Step 4: Keep Your Routine Simple Before the Appointment
Resist the urge to make one last color adjustment. Another round of bleach, permanent dye, toner, or color remover changes the starting point and can make the correction more involved. Repeated harsh cleansing or homemade color-removal mixtures are not a reliable substitute for a correction plan.
Follow any preparation instructions provided for your appointment. Otherwise, keep to your normal washing and conditioning routine. There is no need to deliberately arrive with very dirty hair.
For a consultation, dry hair worn in your usual part helps show the current color and placement. Avoid loading it with dry shampoo, root-covering powder, heavy oils, or tinted styling products that obscure the roots or lengths. Mention any color-depositing products used recently.
Step 5: Ask About the Route, Not Just the Final Shade
A useful consultation explains what the first appointment can address and how that connects to your longer-term goal. Bring questions such as:
- What is creating the unevenness or unwanted tone?
- What change is realistic at the first color appointment?
- Would a slightly deeper result offer a more practical route than going lighter?
- Would preserving my length change the proposed approach?
- Would a test on a small section of hair help assess the plan?
- What would my color look like between appointments?
Ask how the estimate is structured, which services it includes, and whether later visits would be separate. Discuss potential trimming, toning, and home-care needs as part of the overall commitment, rather than comparing only the initial service.
If the plan involves stages, understanding how many sessions color correction may take can help you frame questions about timing and expectations.
Step 6: Leave With a Clear First Step
Before the consultation ends, make sure the proposed direction matches your priorities. A useful plan identifies the first appointment’s goal, any compromise in shade or length, and the maintenance involved.
Explain your practical limits plainly. “I can manage occasional toning, but frequent root touch-ups do not fit my schedule” gives the conversation a clear boundary. Likewise, say whether regular heat styling is part of your routine or something you prefer to avoid.
Clarify whether the appointment is consultation-only or includes color work. A consultation and a full corrective service are different time commitments.
Frequently Asked Questions
Can I attend without inspiration photos?
Yes. Plain descriptions still help. Explain whether you want your hair lighter, darker, warmer, cooler, or more even, and identify the areas you want to keep unchanged.
What if I have an event coming up?
Share the date and what matters most for that occasion. A more even interim color may be a more practical discussion than aiming for a major shade change immediately before the event.
What if I wear extensions?
Mention them when arranging the appointment and explain their type and placement. Include photos showing your natural hair separately, if available, so the conversation can distinguish your own color from the added hair.
Preparation Is About Clarity, Not Perfect Terminology
Clear photos, an honest color timeline, and a short list of priorities are enough to make the conversation more productive. The goal is to understand the proposed correction, its tradeoffs, and how it will fit into everyday life.